Ancillary Parts Removal:
After Pioneer Aero removed and disassembled the flap bay subassembly from the SBD's wing center section, they then began the process of removing the adjacent skin panel (p/n 5090536) from the bottom side of the aircraft. This component spans the width of the center section between Web/Spar No.3 and No.5. They began first by removing some of the ancillary components attached to the skin panel, such as the various fairings covering plumbing assemblies protruding from the wing. Each of these components received an assessment regarding its potential future serviceability. The team then began restoring those items which made the grade and made plans to remanufacture those which did not. Once finished, each of these components will be placed in storage until it is ready for reinstallation.
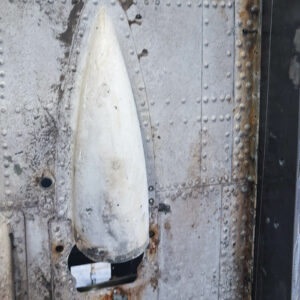
This is the aft end of the right hand fairing which covers the fuel transfer plumbing protruding from the under-side skin between Webs No.3 and 5 on the SBD’s wing center section. The triple row of rivets running horizontally (in this image) through the wider end of the fairing attach the skin to Web/Spar No.3 beneath it. This fairing is in good, restorable condition. (image via Pioneer Aero Ltd.)
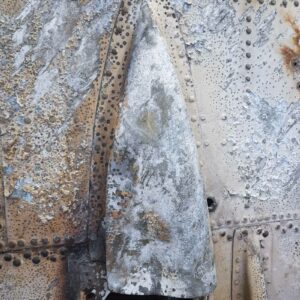
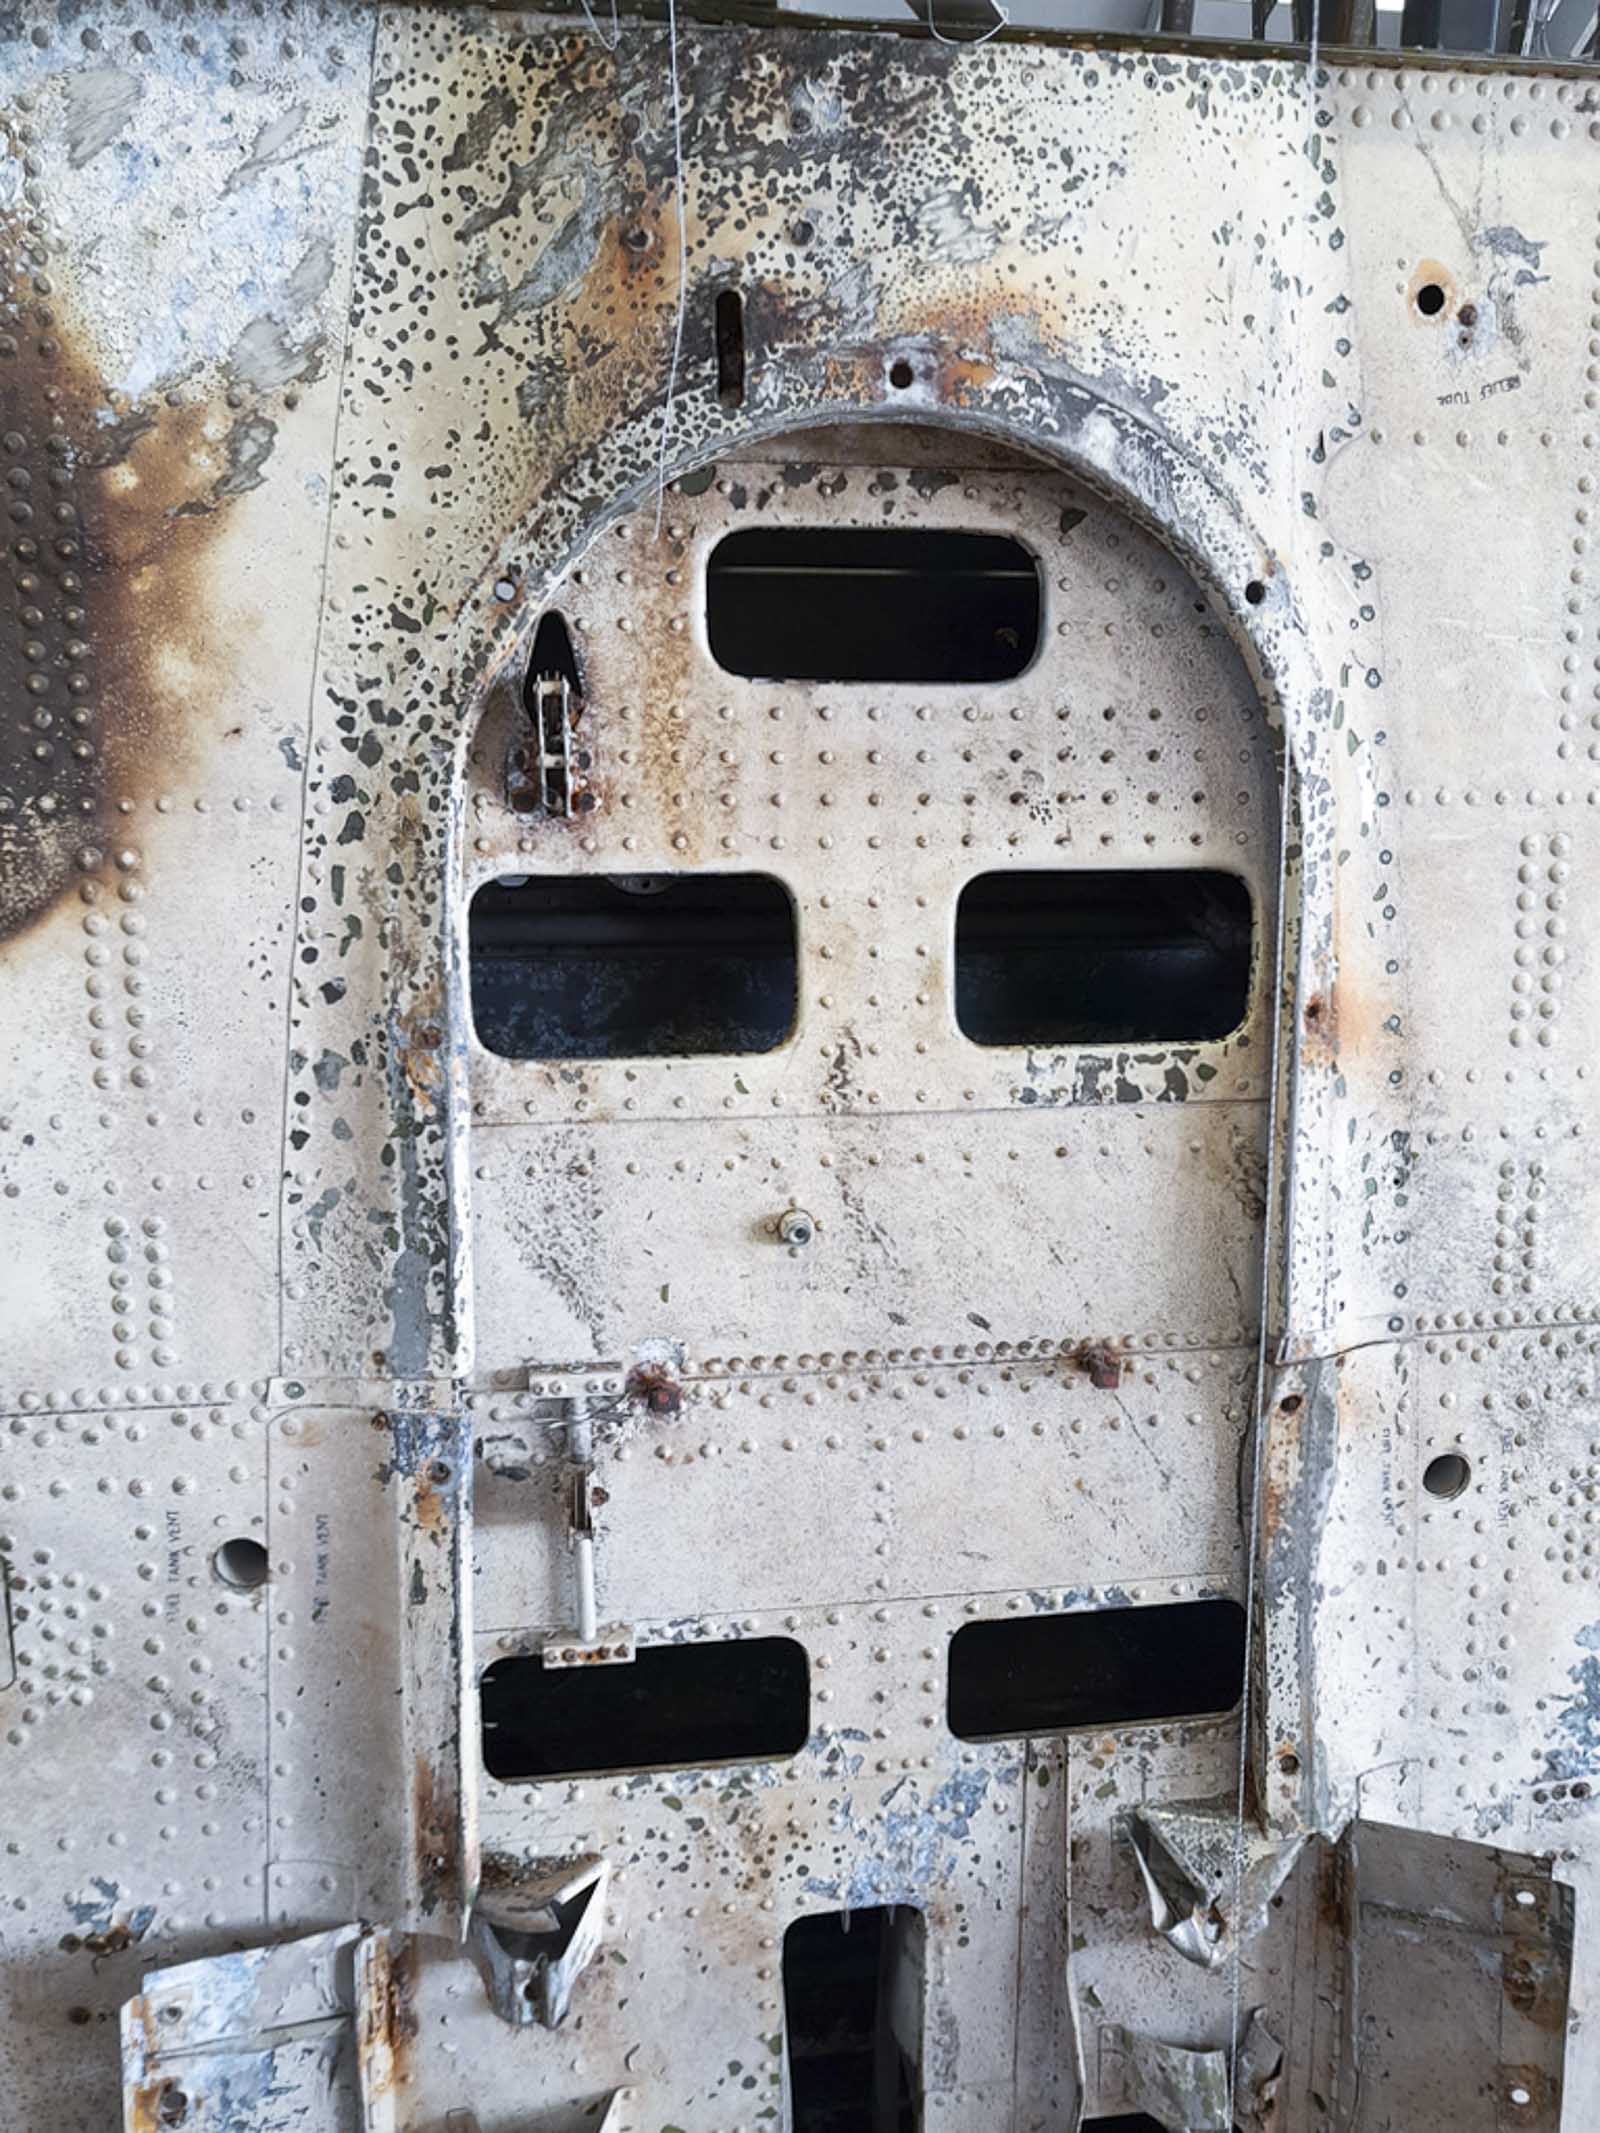
This is the aft end of the left hand fairing which covers the fuel transfer plumbing protruding from the under-side skin between Webs No.3 and 5 on the SBD’s wing center section. The triple row of rivets running horizontally (in this image) through the wider end of the fairing attach the skin to Web No.3 beneath it. While a little crunched, this component had only minor corrosion issues and a small crack. Perhaps surprisingly, it was possible to restore this fairing to airworthy condition. (image via Pioneer Aero Ltd.)
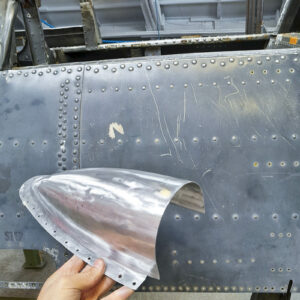
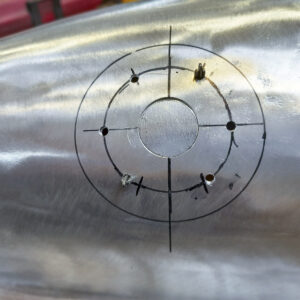
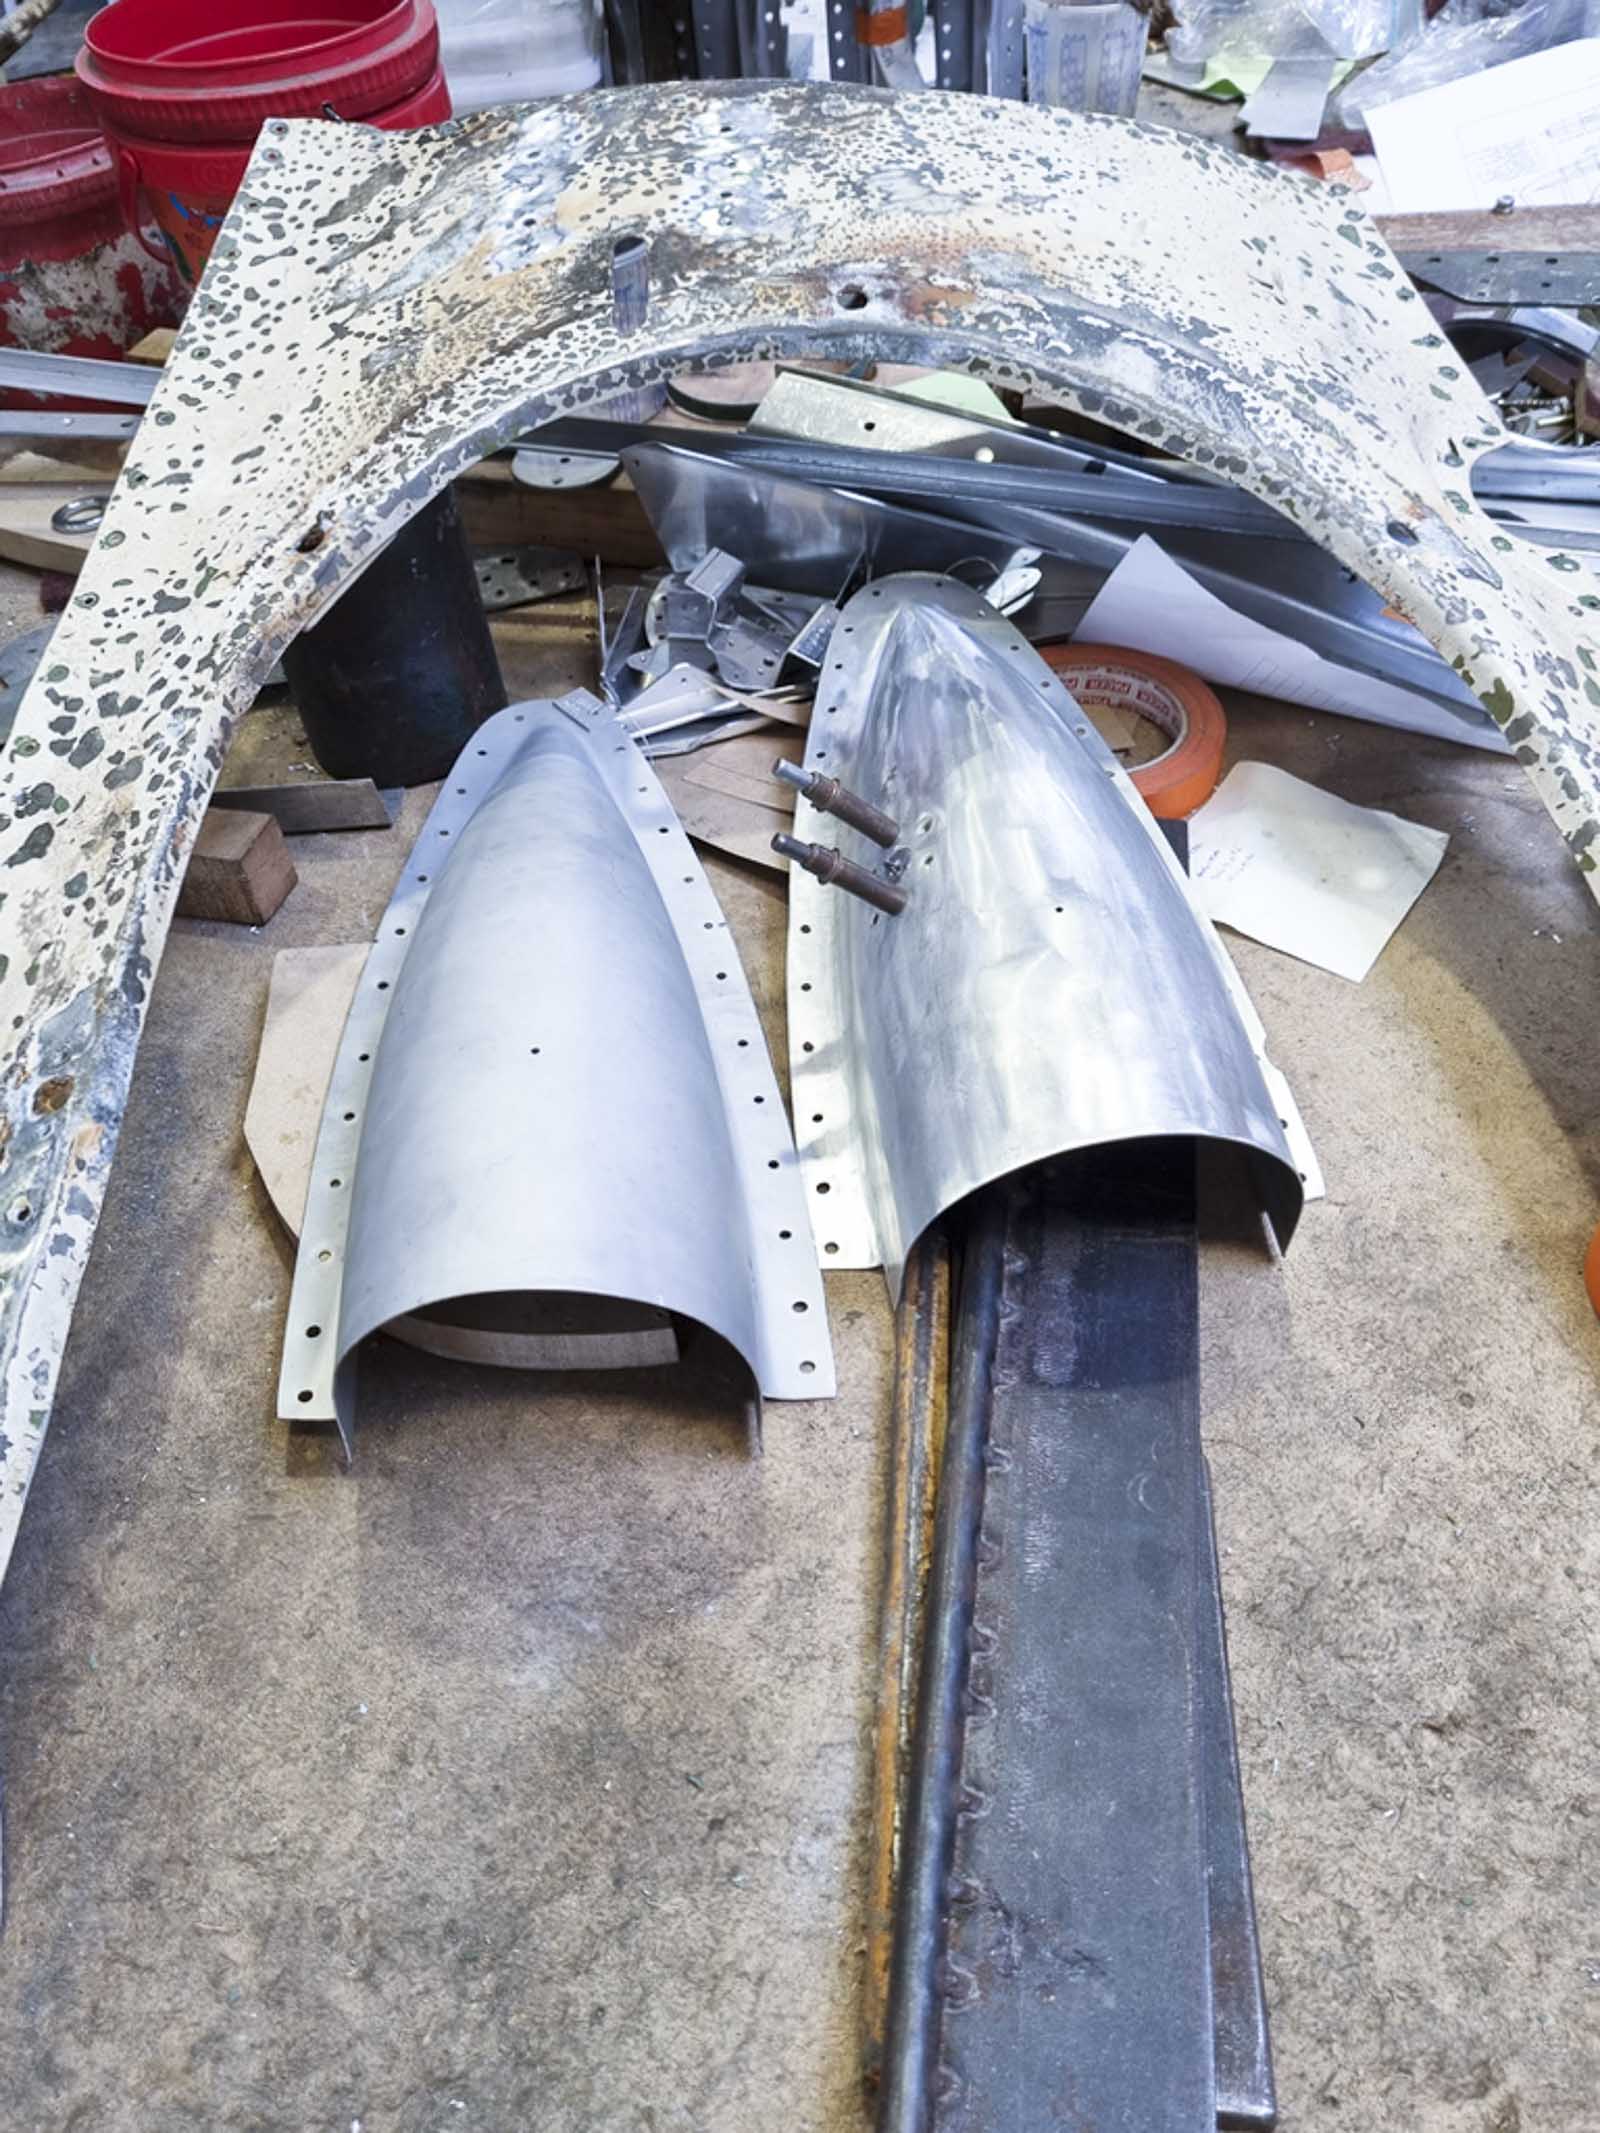
It is amazing what can be achieved with the correct treatment. This is the same fairing after bead blasting and reshaping into its correct profile. Bead blasting removed the dirt, paint and minor corrosion, leaving only the crack to repair. (image via Pioneer Aero Ltd.)
Skin Panel Removal:
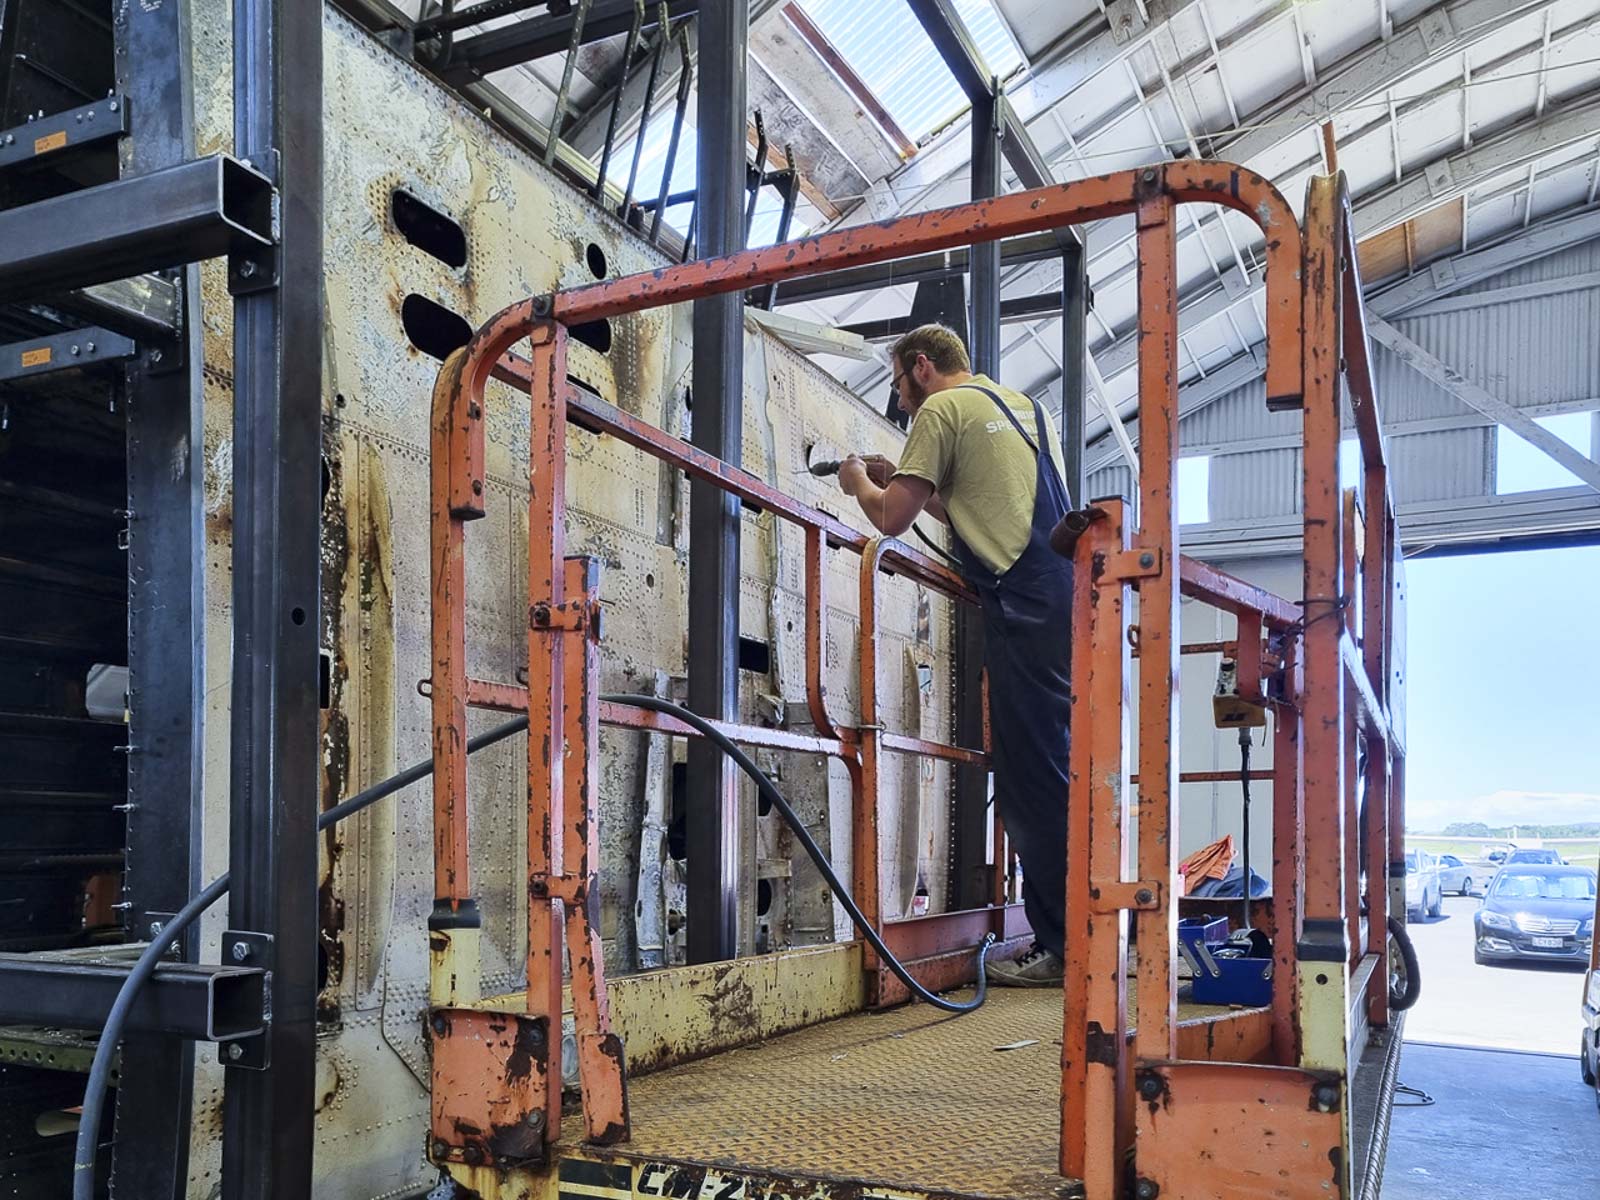
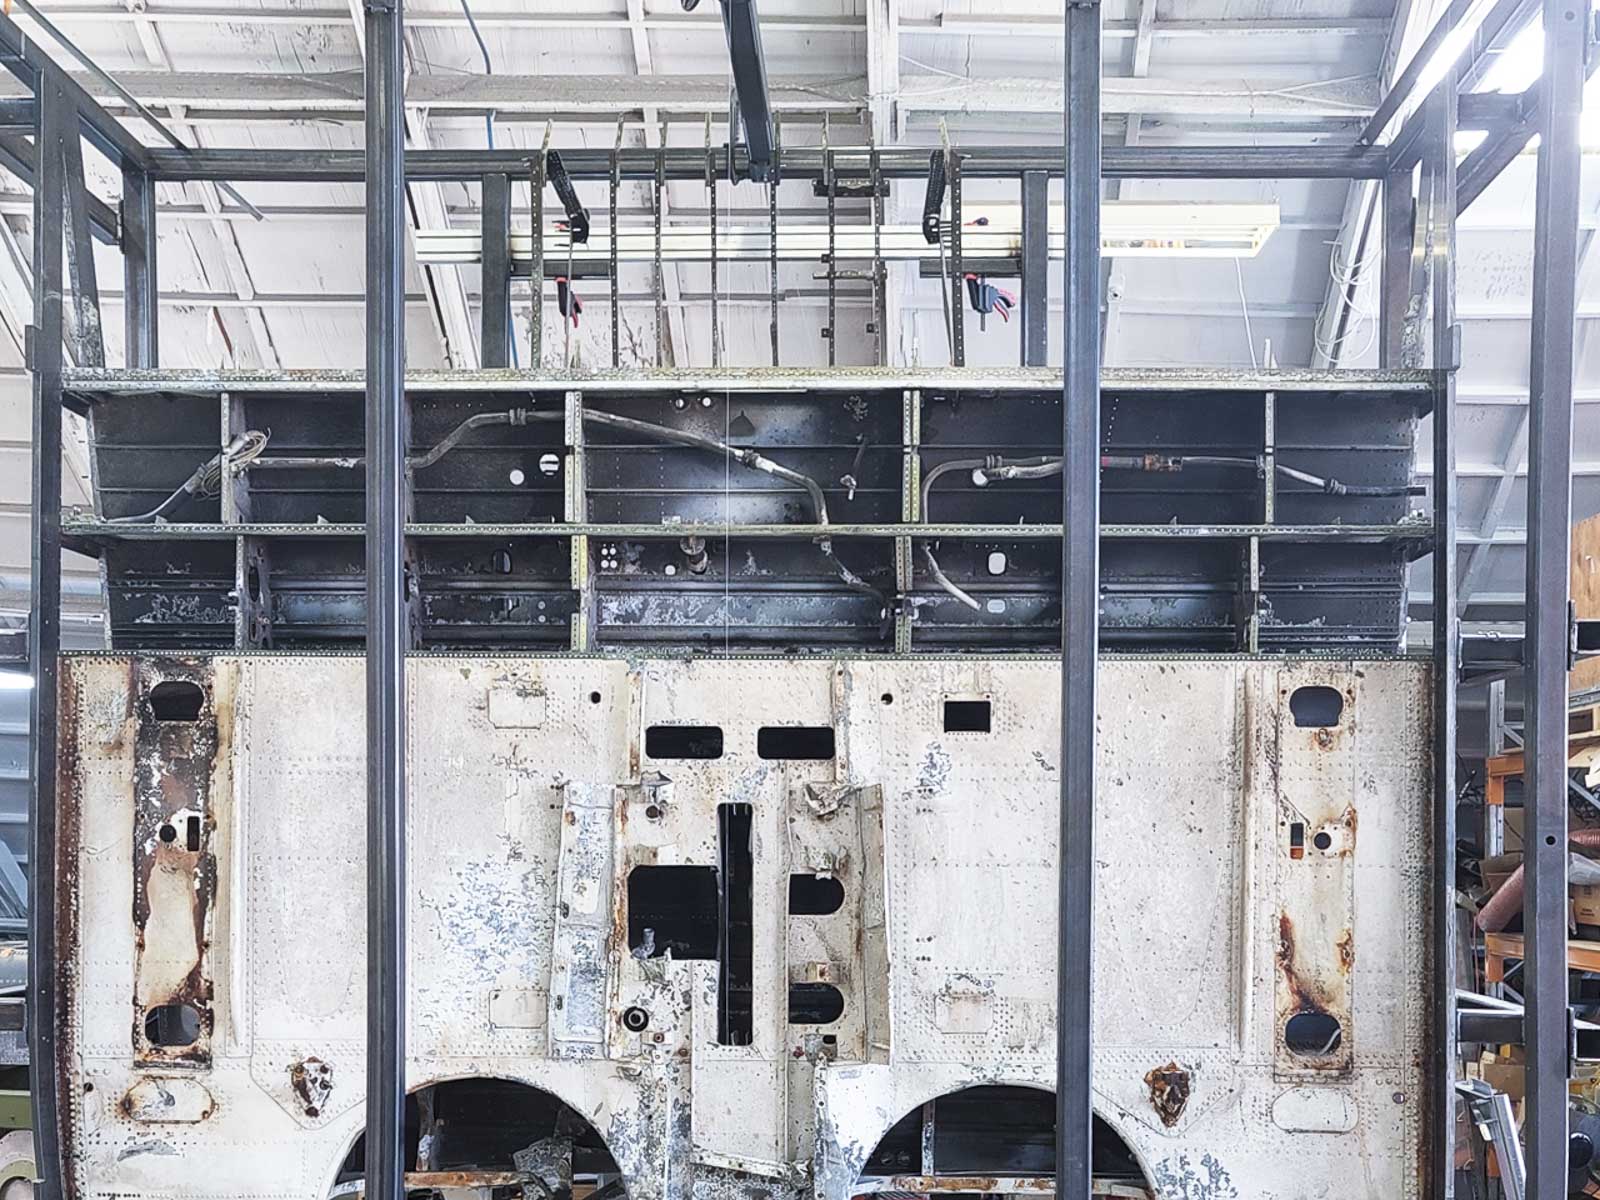
Once they had safely removed the various protuberances from the skin panel, Pioneer then got to work removing this subassembly from the wing center section. There are literally hundreds of heavy-duty rivets holding this panel to the airframe, so the process required enormous patience and significant skill to do properly. With the panel removed, the restoration team was able to take a closer look at the condition of the components inside and plan their next moves in the restoration.
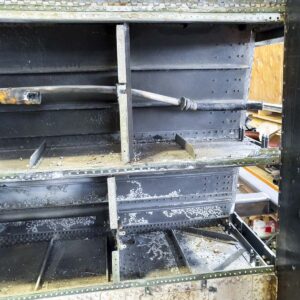
A close up view of the wing’s interior structure following the removal of the skin section between Web/Spars No.3 and 5. Note the large tube with the red band painted on it; this is a fuel line running to the outer wing tank. (image via Pioneer Aero Ltd.)
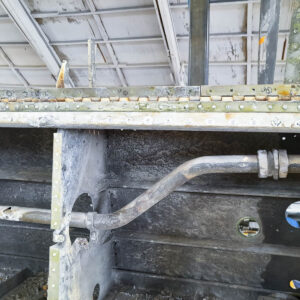
A closeup of the internal wing structure between Web/Spars No.4 and 5. The electrical conduit has significant corrosion damage, and will need replacing. The same is true for the flap hinge which is visible running along the edge of Web No.5 - the corroded steel pin running along its length had fused the two hinge halves together. In time, the restoration team will remove the remaining internal structure to assess its condition - either repairing or replacing each part as necessary. Pioneer expects that a significant amount of this structure is restorable to airworthy condition. (image via Pioneer Aero Ltd.)

